# Administration avec Portainer
### Interface graphique Portainer
Portainer est une interface web qui permet de gérer facilement des environnements Docker. Elle simplifie l'administration des conteneurs, images, volumes et réseaux sans avoir à utiliser la ligne de commande.
[](https://formation.tfrichet.fr/uploads/images/gallery/2025-08/0HqJnnWRaIeciMq4-image.png)
Portainer est une solution commerciale basée sur un outil open-source.Ci-dessous un extrait du site [ 🔗 docs.portainer.io](https://docs.portainer.io/) :
> **Portainer Community Edition (CE)** is our foundation. With over half a million regular users, CE is a powerful, open source toolset that allows you to easily build and manage containers in Docker, Docker Swarm, Kubernetes and Azure ACI.
>
> **Portainer Business Edition (BE)** is our commercial offering. With features geared towards businesses and larger organizations such as [Role-Based Access Control](https://docs.portainer.io/admin/user/roles), [registry management](https://docs.portainer.io/admin/registries/browse), and [dedicated support](https://docs.portainer.io/#getting-support), Portainer BE is a powerful toolset that allows you to easily build and manage containers in Docker, Docker Swarm, Kubernetes, Podman and Azure ACI.
Nous utiliserons **Portainer Community Edition (CE)**.
### Installation
La procédure d'installation détaillée est disponible sur [ 🔗 docs.portainer.io](https://docs.portainer.io/start/install-ce/server/docker/linux).
L'installation de Portainer s'effectue simplement avec une image docker :
```bash
docker volume create portainer_data
docker run -d -p 8000:8000 -p 9443:9443 --name portainer --restart=always \
-v /var/run/docker.sock:/var/run/docker.sock -v portainer_data:/data portainer/portainer-ce:lts
```
Portainer est accessible à l'adresse : [ 🔗 ](https://127.0.0.1:9443/)[https://127.0.0.1:9443/](https://127.0.0.1:9443/).
Remplacez 127.0.0.1 par l'IP de votre hôte docker si nécessaire.
La création d'un utilisateur est obligatoire avant la première connexion.
[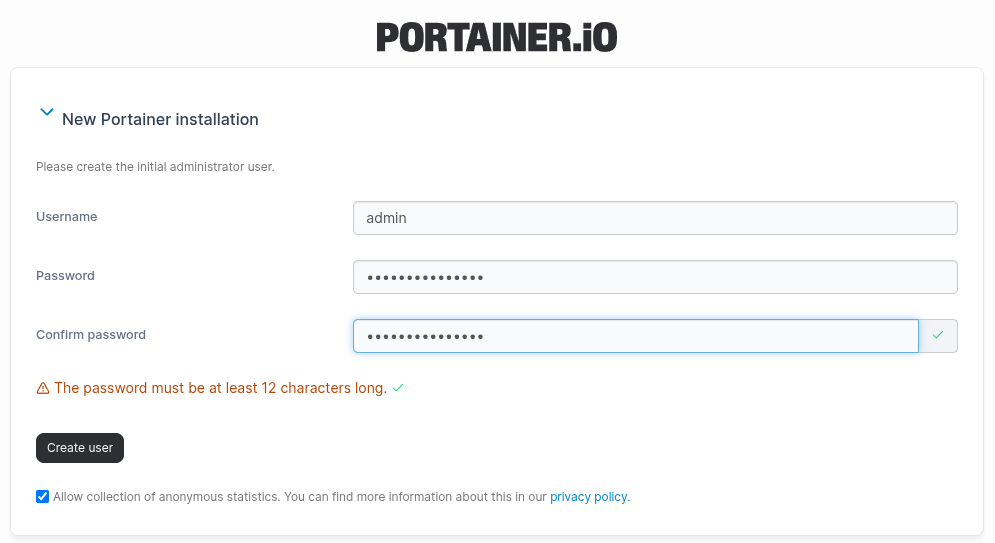](https://formation.tfrichet.fr/uploads/images/gallery/2025-08/n9LmUAM0yloJKFBp-image.png)
Il faut ensuite sélectionner l'environnement local.
[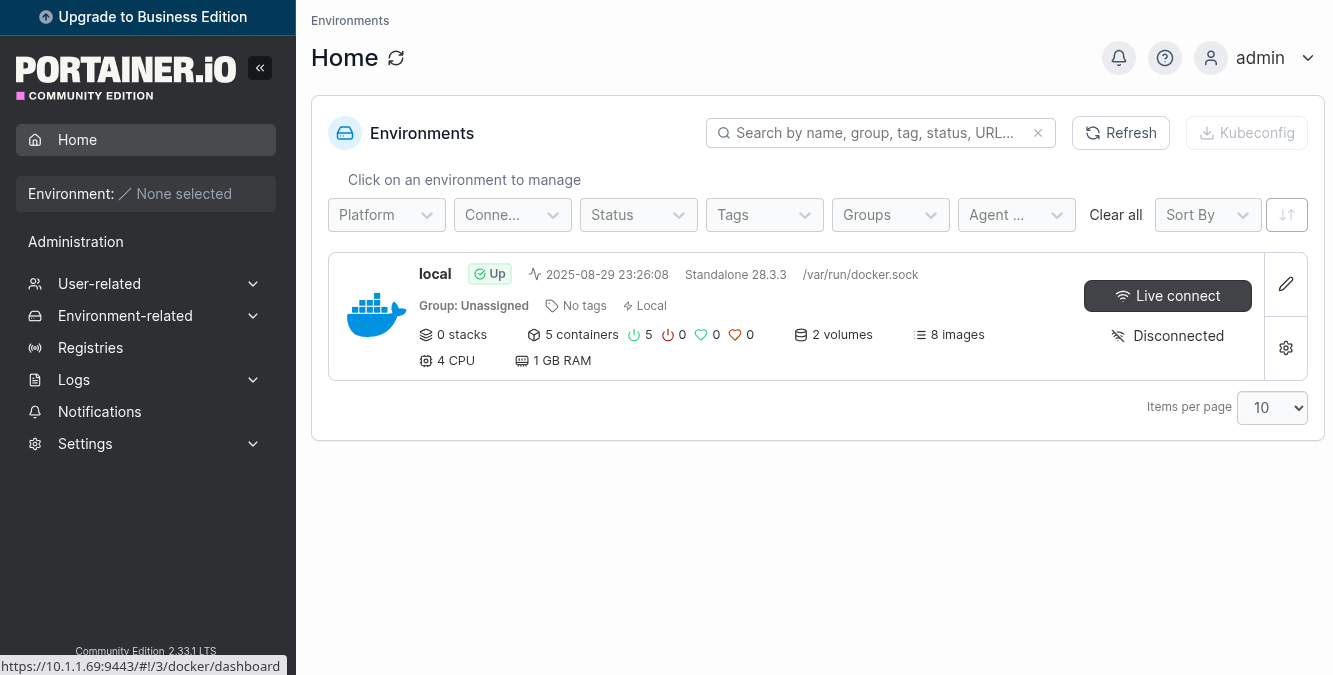](https://formation.tfrichet.fr/uploads/images/gallery/2025-08/MmBghWudeqj5RZJQ-image.png)
L'administration des containers, images, volumes, network est disponible.
[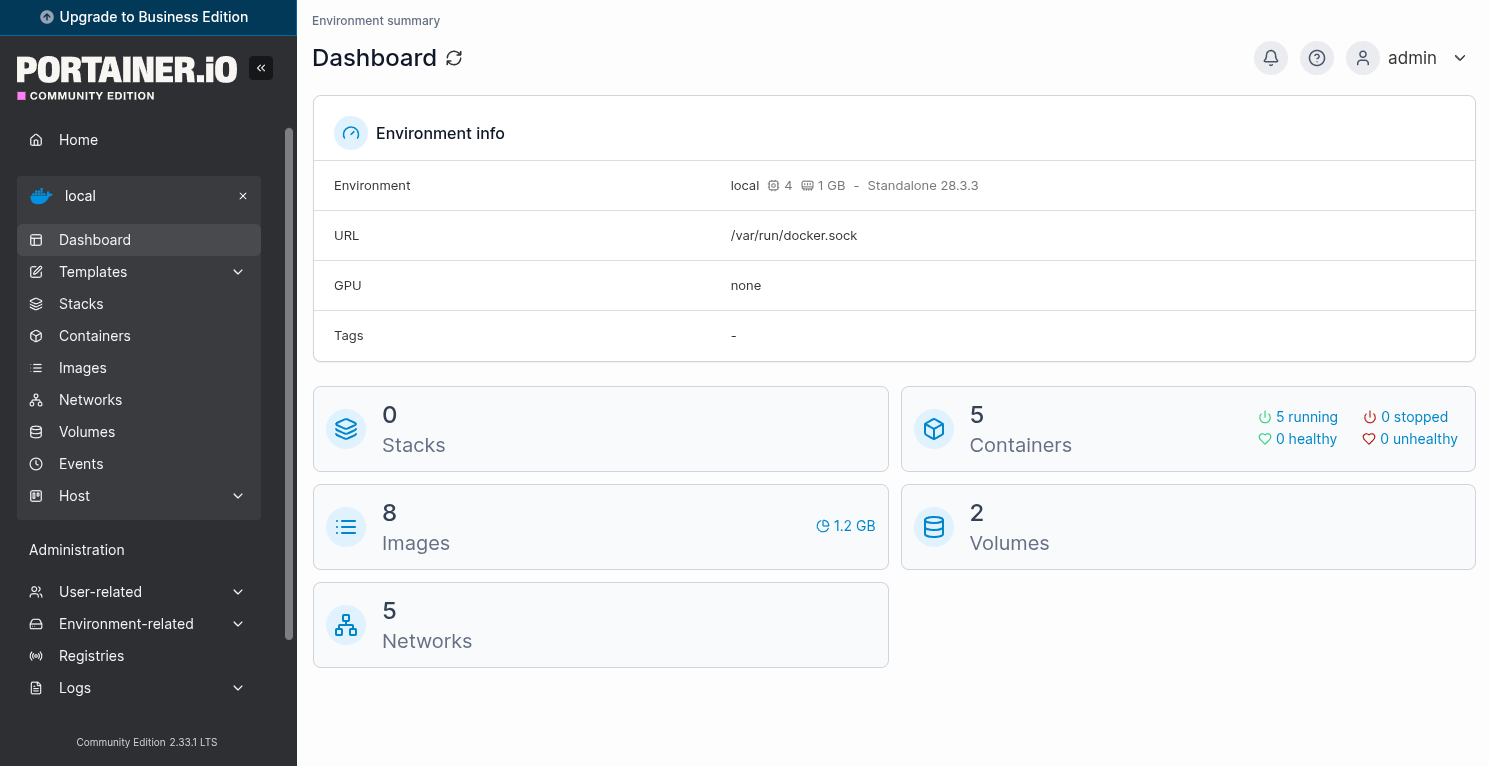](https://formation.tfrichet.fr/uploads/images/gallery/2025-08/EIuhypLARw2EWfwL-image.png)